
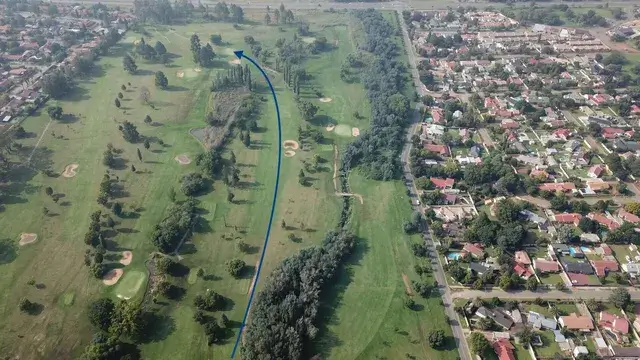
THE GOLF COURSE
Golf Course that will change the way you ever played golf.
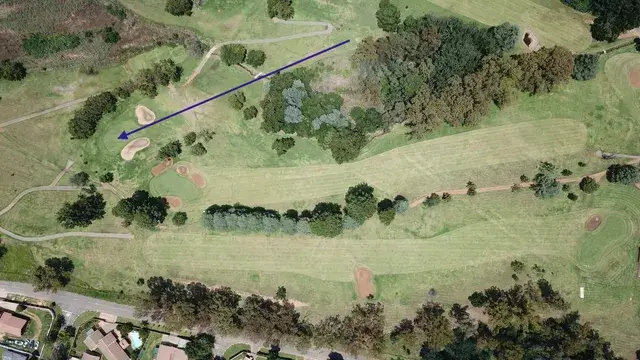
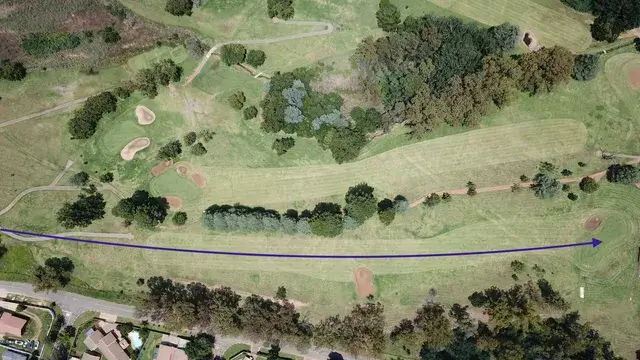
Front 9 Holes
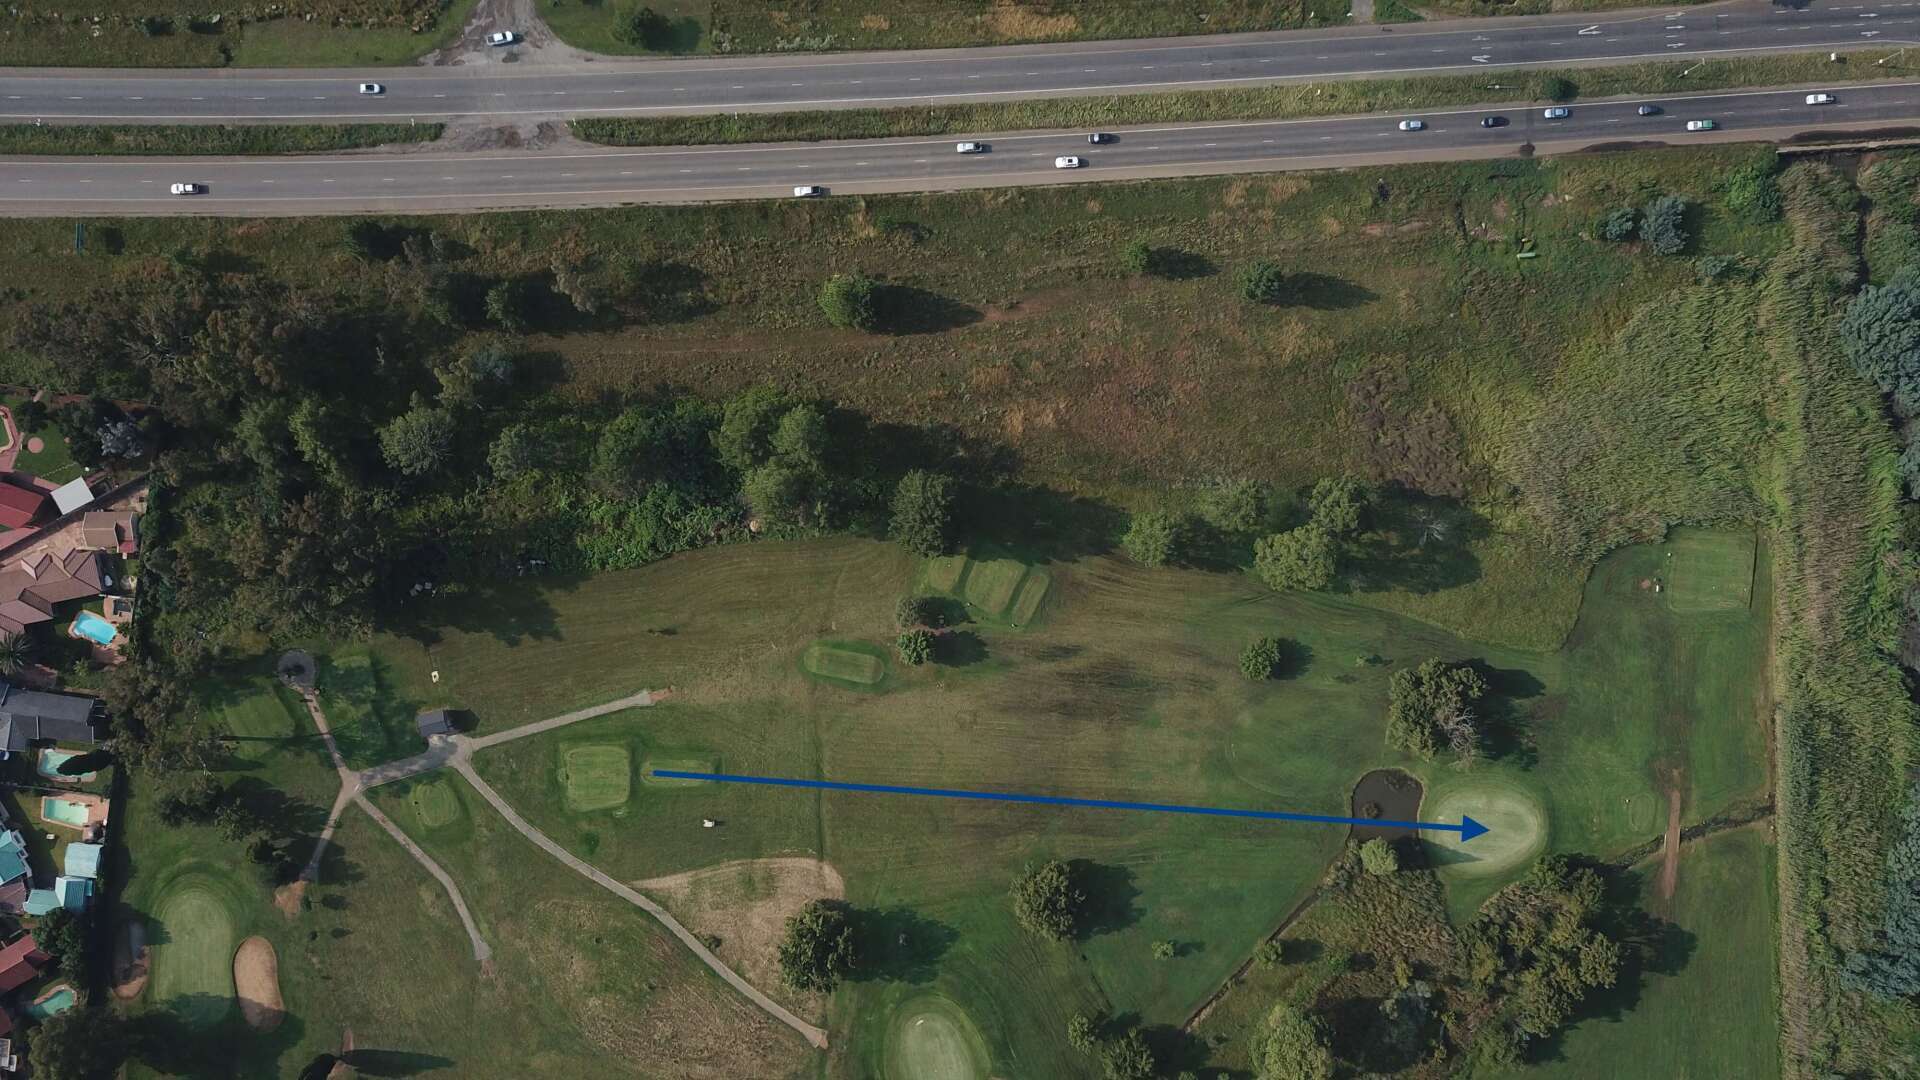
Hole 1:
Although not the longest par four on the course, the opening hole demands accuracy from the tee. With trees lining the left and water guarding the right, a smart play is to take a long iron or hybrid down the left side, allowing the fairway to feed the ball gently to the right. This will leave you with a short iron or wedge approach into a green well protected by three bunkers.
Hole 2:
This dogleg-right par five offers a great scoring opportunity but rewards smart course management. The tee shot is not overly demanding, though positioning in the fairway is key if you’re thinking about reaching the green in two. A small pond, trees, and two bunkers protect the green, so the safer play is to lay up short of the water, leaving yourself a short club to attack the flag.
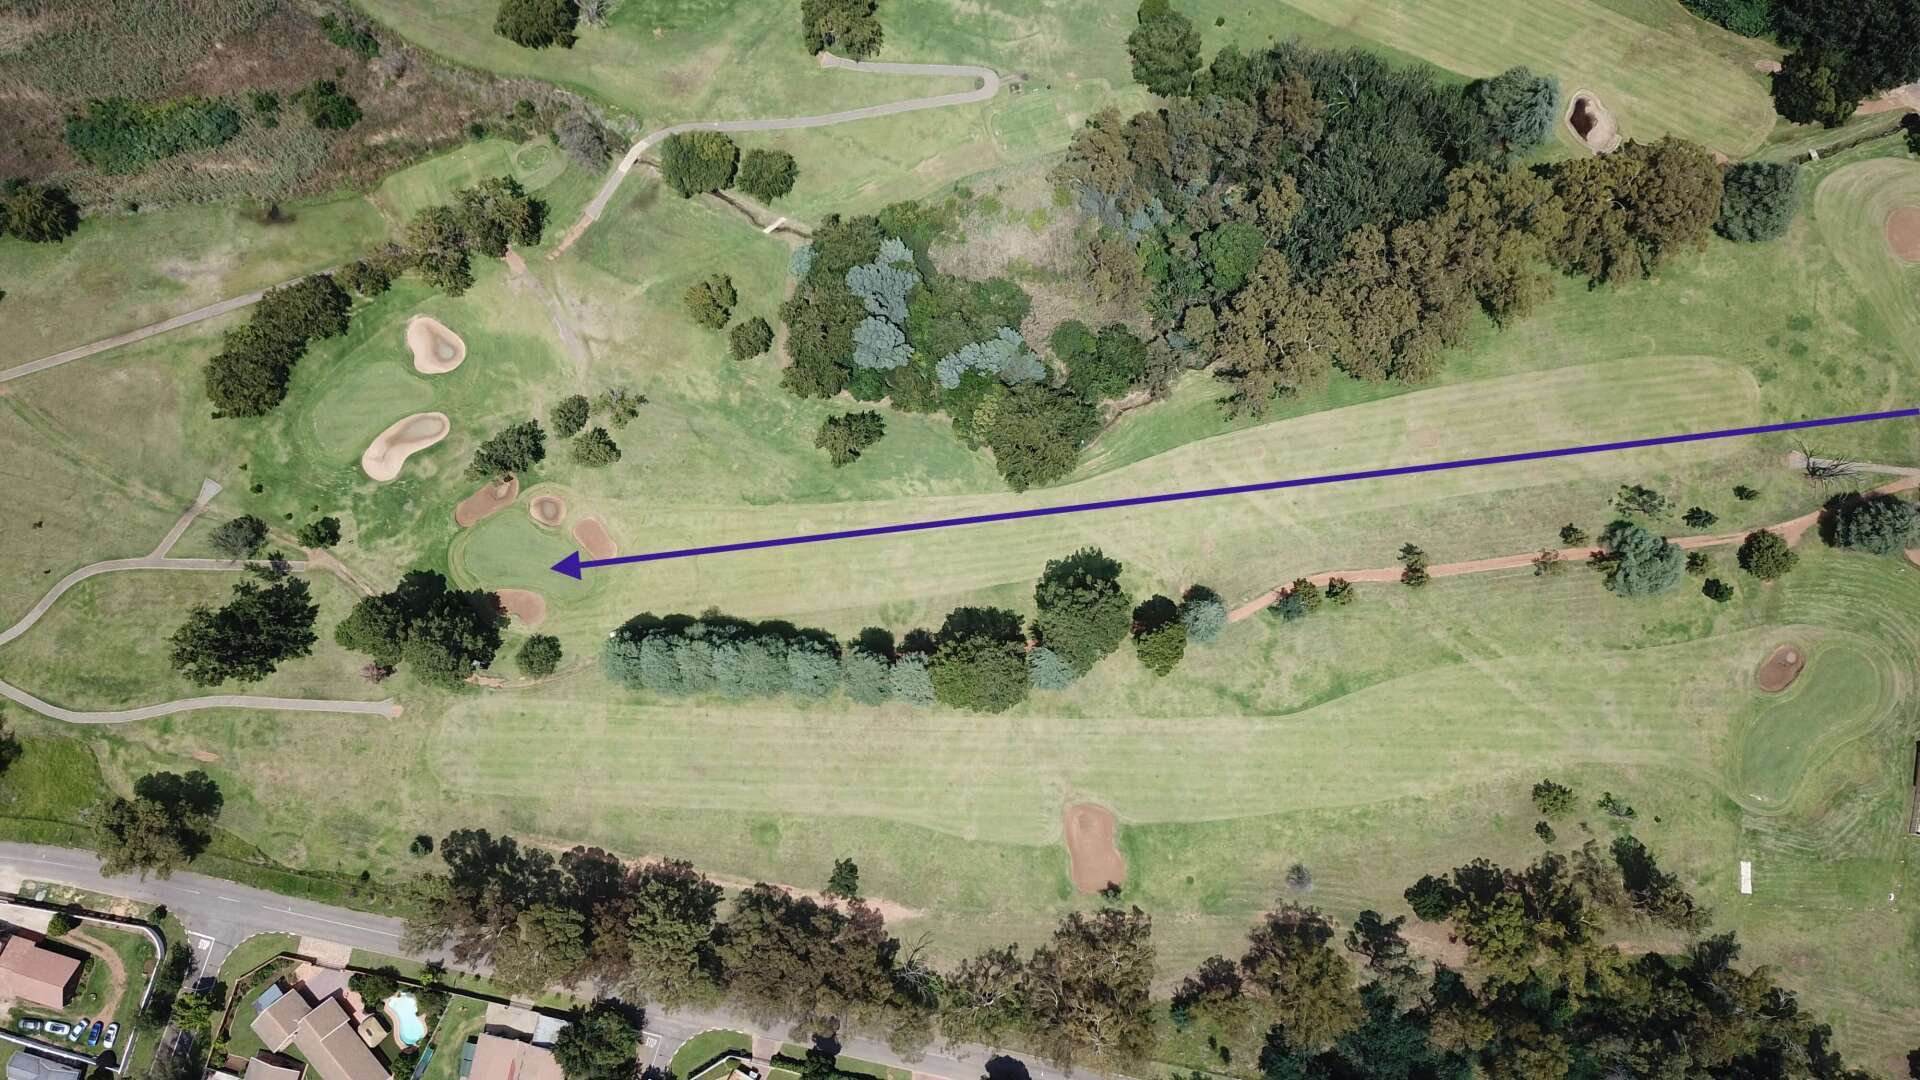
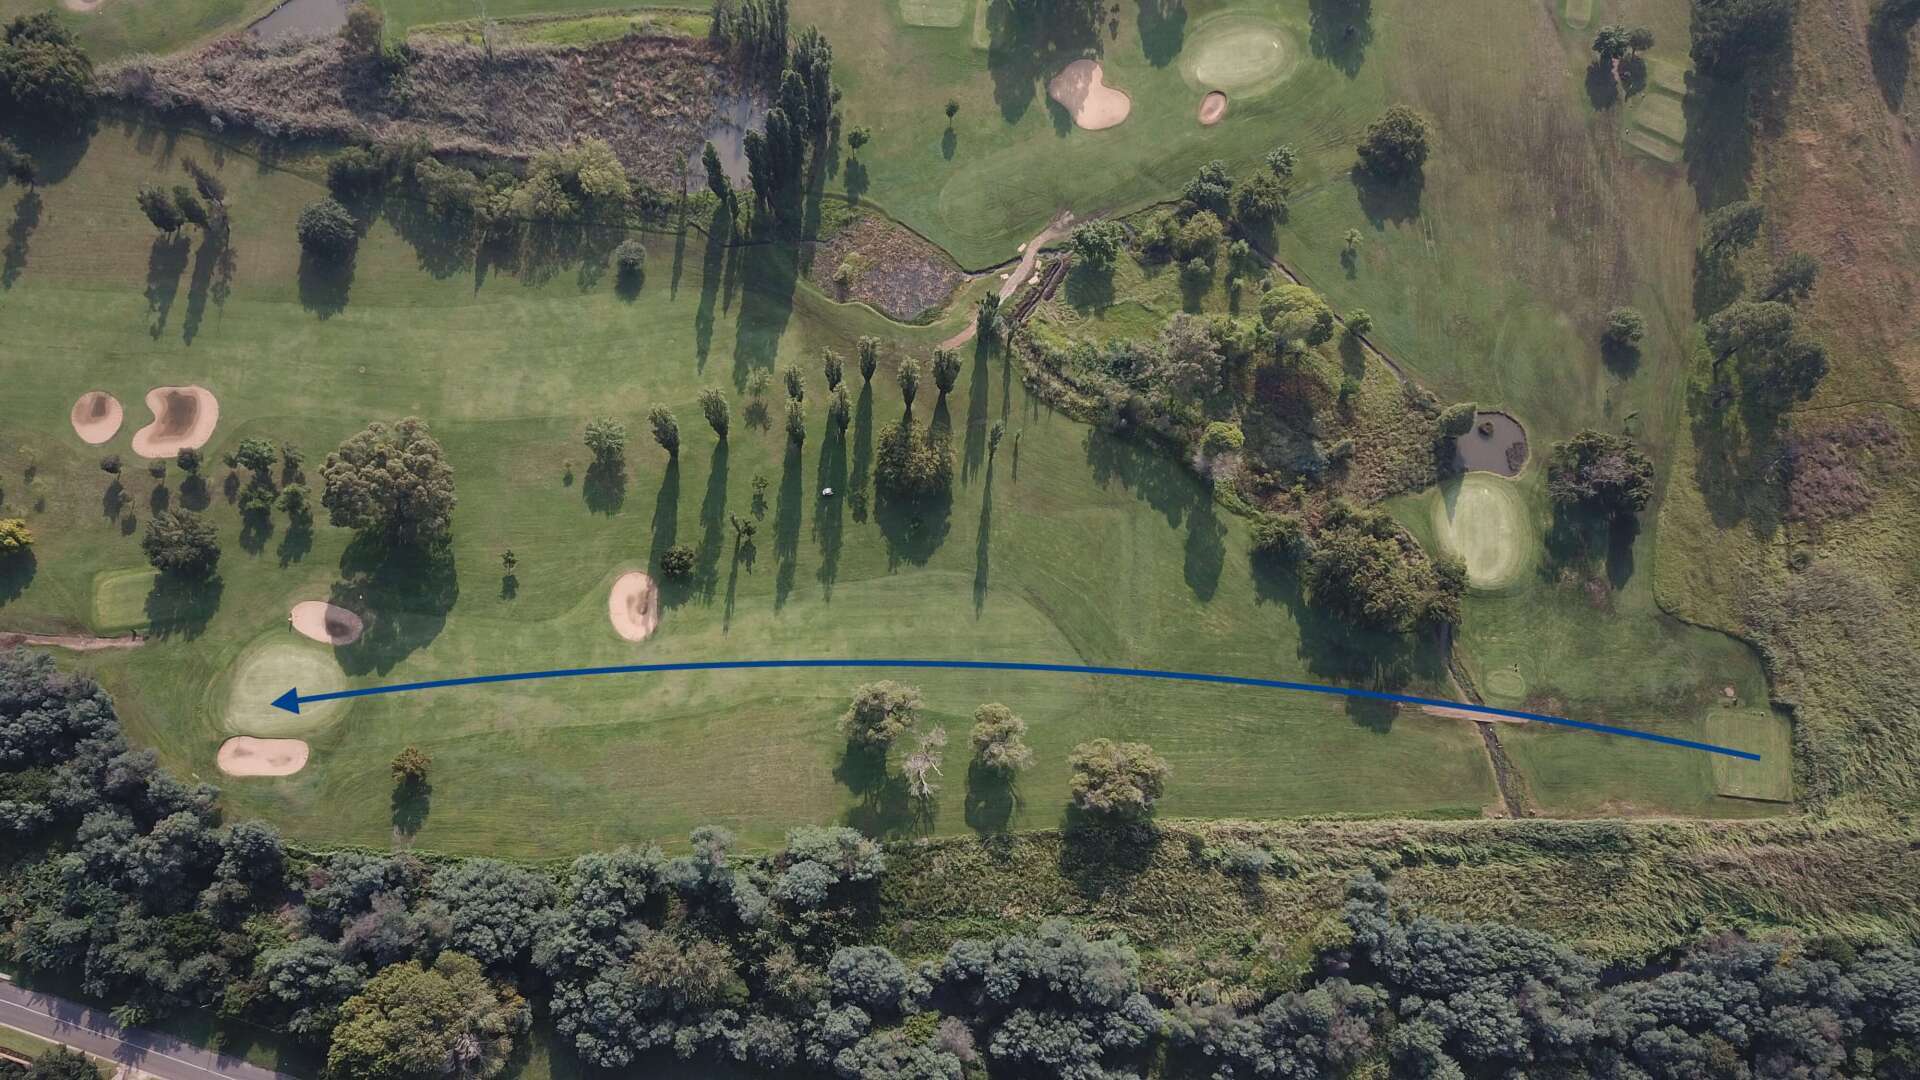
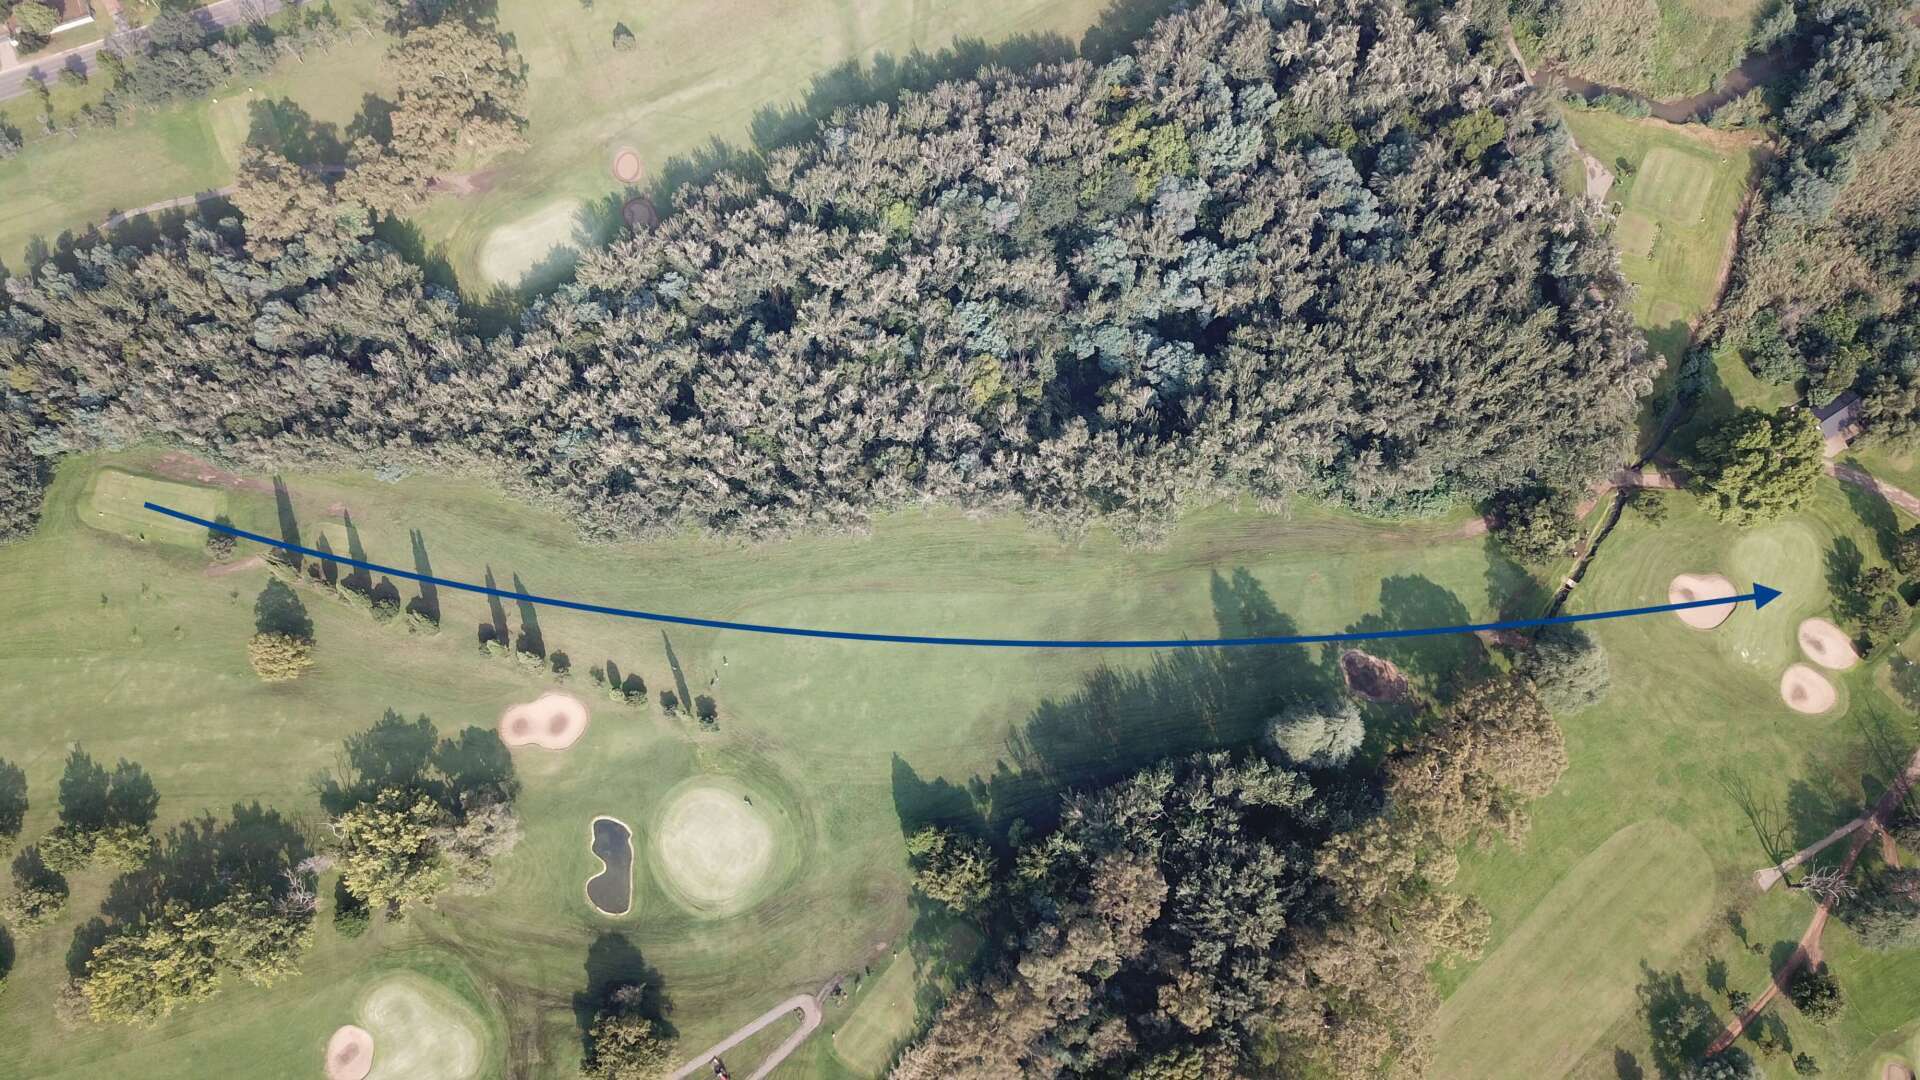
Hole 3:
A straightaway par four featuring two fairway bunkers that frame the landing area on both sides. Players have two options off the tee — lay up short of the bunkers for a safe approach, or take them on to leave a short club into the green. The approach must be precise, with a pond guarding the left side of the green and a bunker that stretches around the right side.
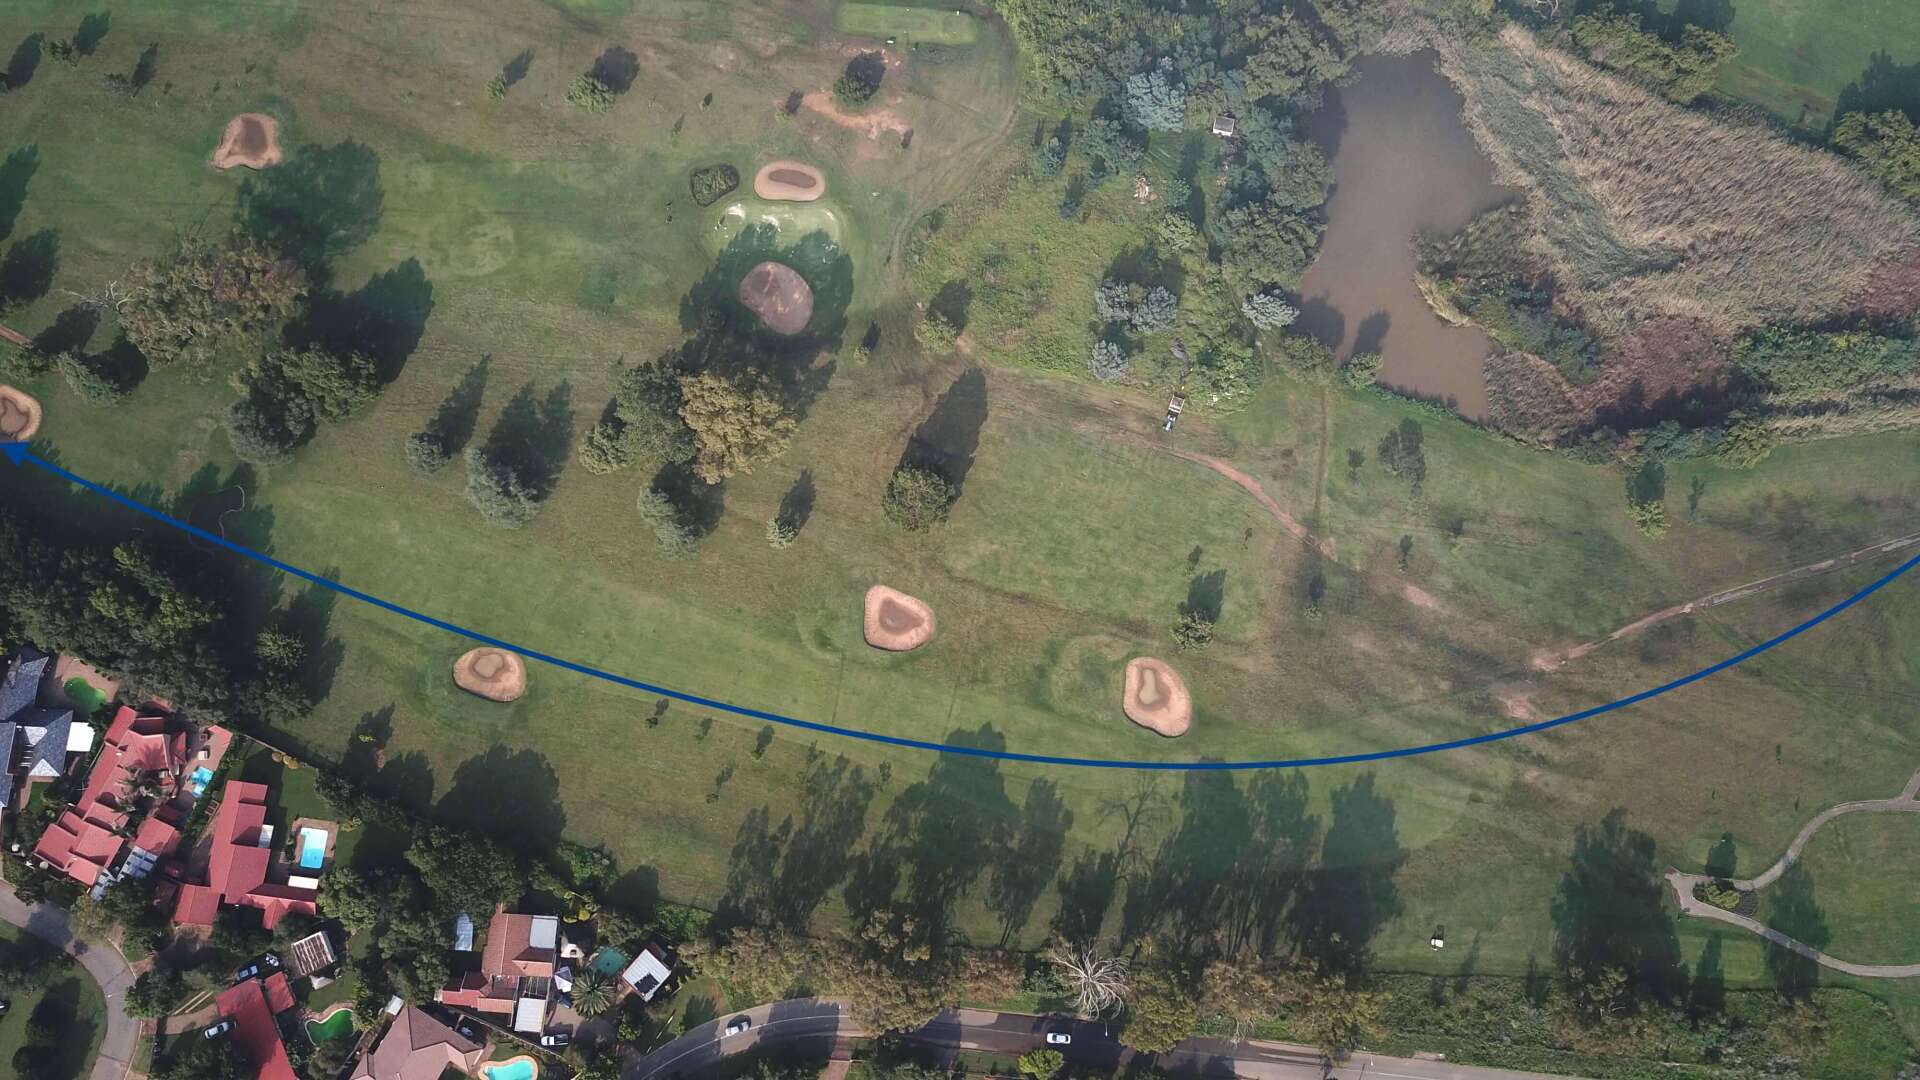
Hole 4:
The longest par five on the course plays straight ahead, offering a generous landing area from the tee. Accuracy is still important, with thick rough waiting on the right and a fairway bunker guarding the left. The green is well protected by bunkers on both sides, making this very much a three-shot par five for most players.
Hole 5: Signature Hole
The signature hole at South Downs Country Club is a short but challenging par three. The small green is guarded by water running along the right and front edges, while thick rough awaits any miss to the left. Precision is essential here — a well-struck shot is rewarded, but there’s little room for error.
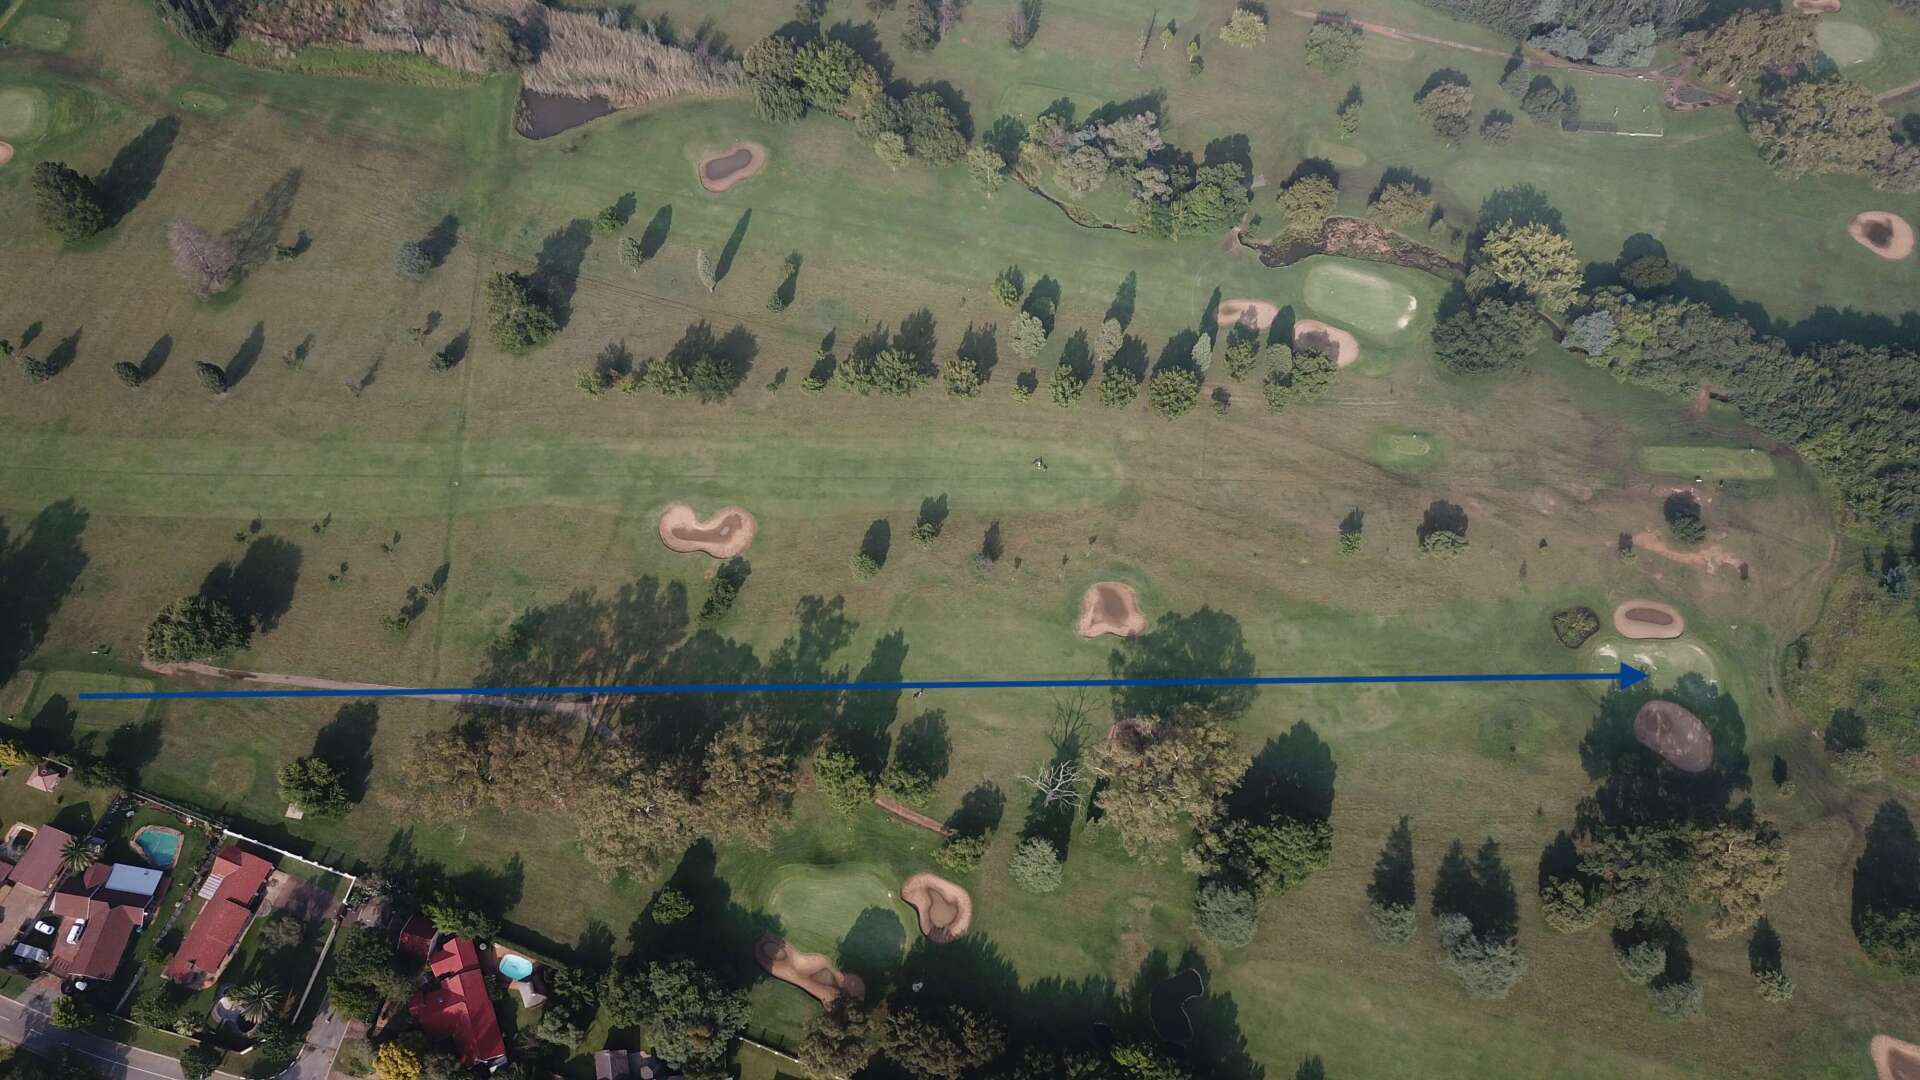
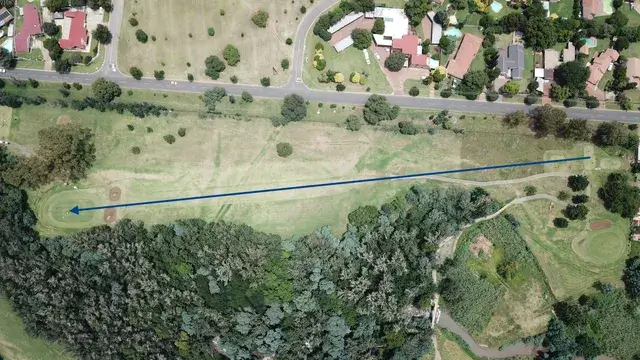
Hole 6:
A relatively short and forgiving par four, playing 305 meters from the club tees. This hole offers plenty of options off the tee and rewards aggressive play, with minimal trouble to avoid. However, out of bounds and three willow trees guard the left side, so accuracy remains important. The green, like many on the course, is well protected by bunkers on both sides.
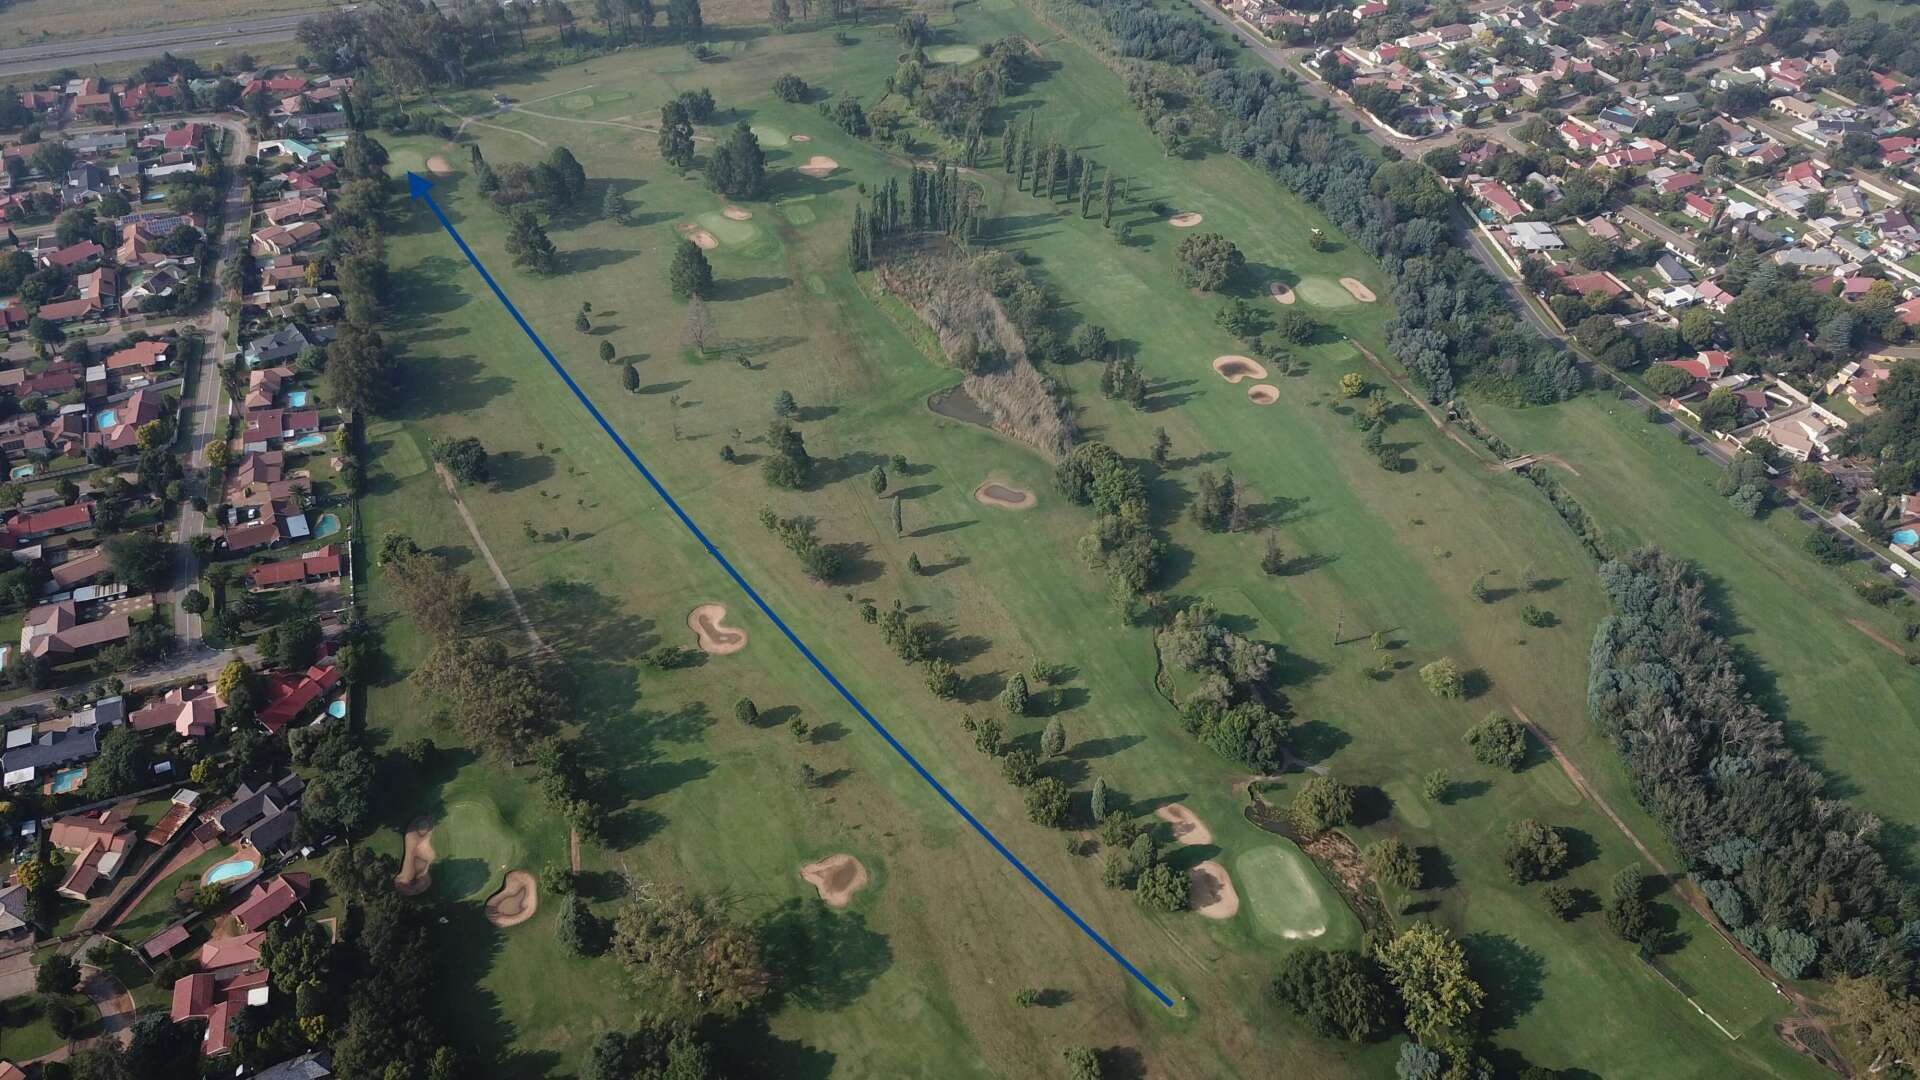
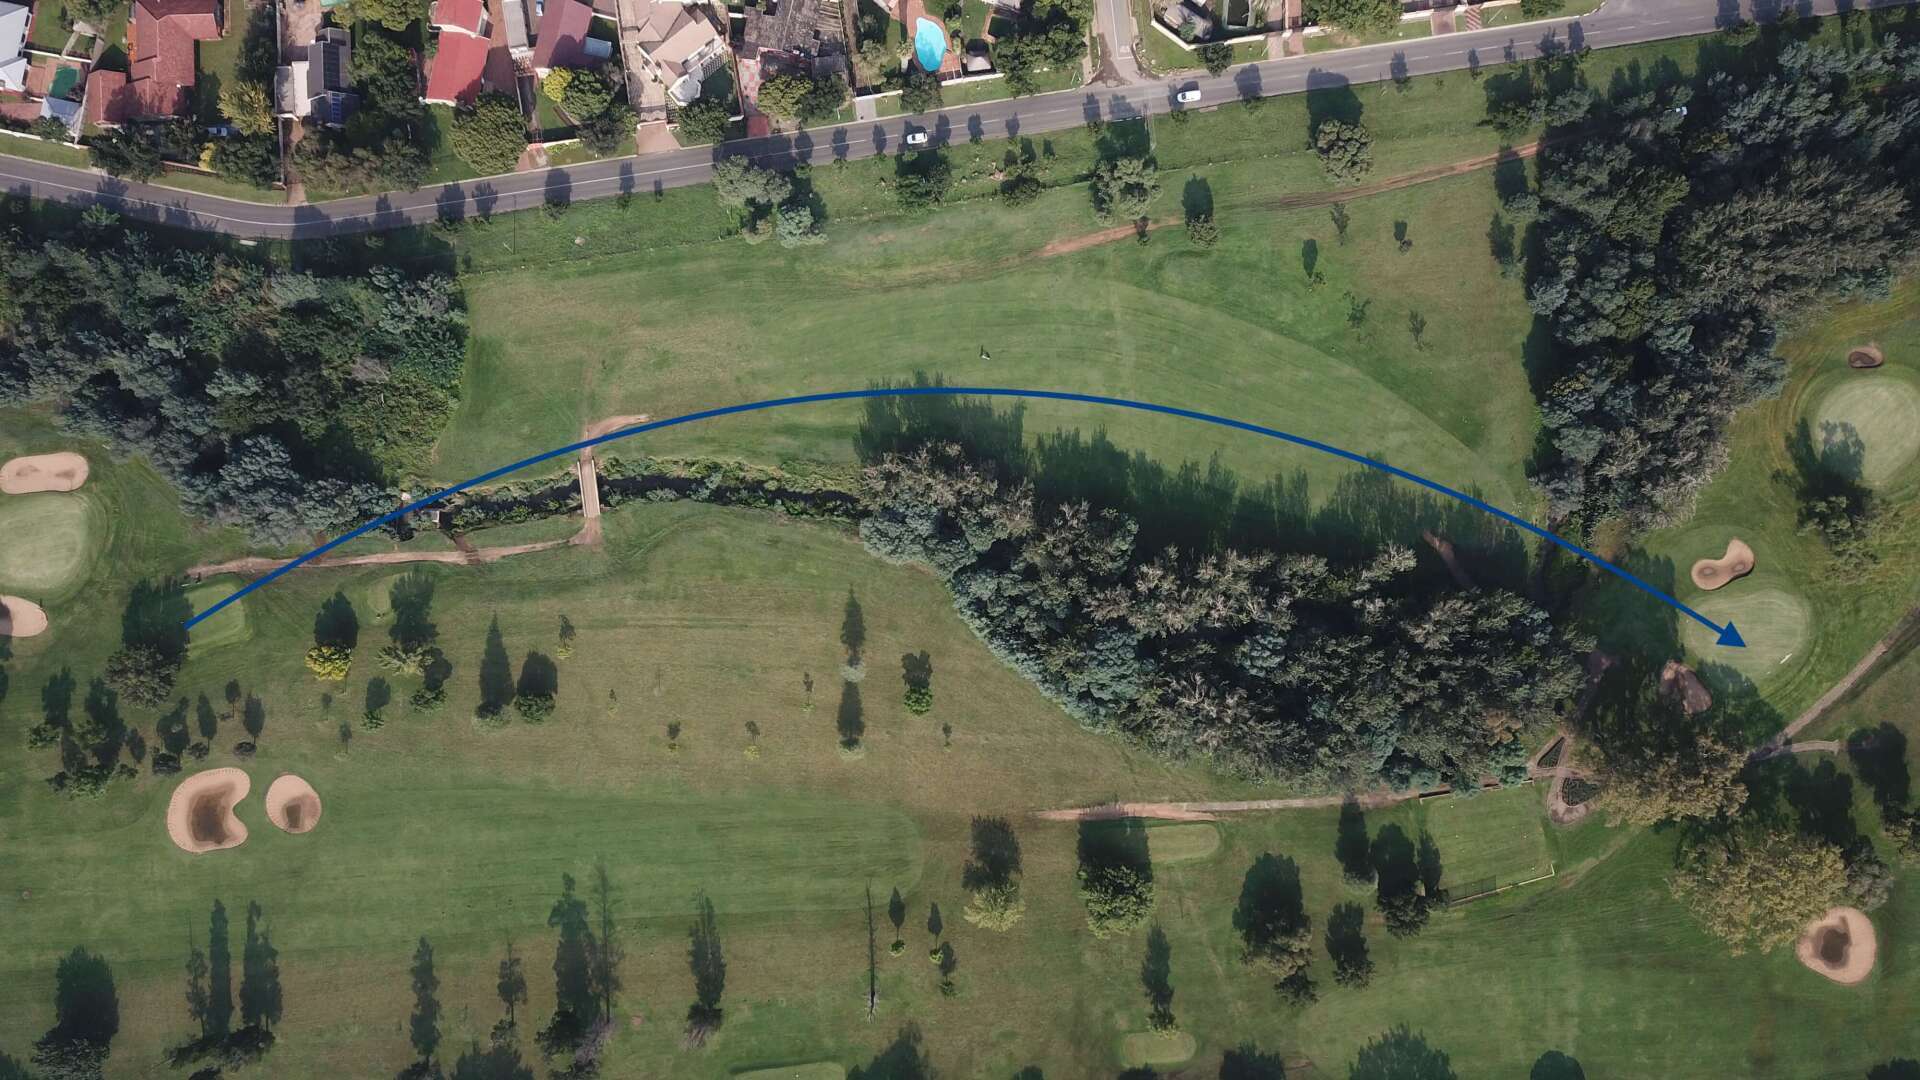
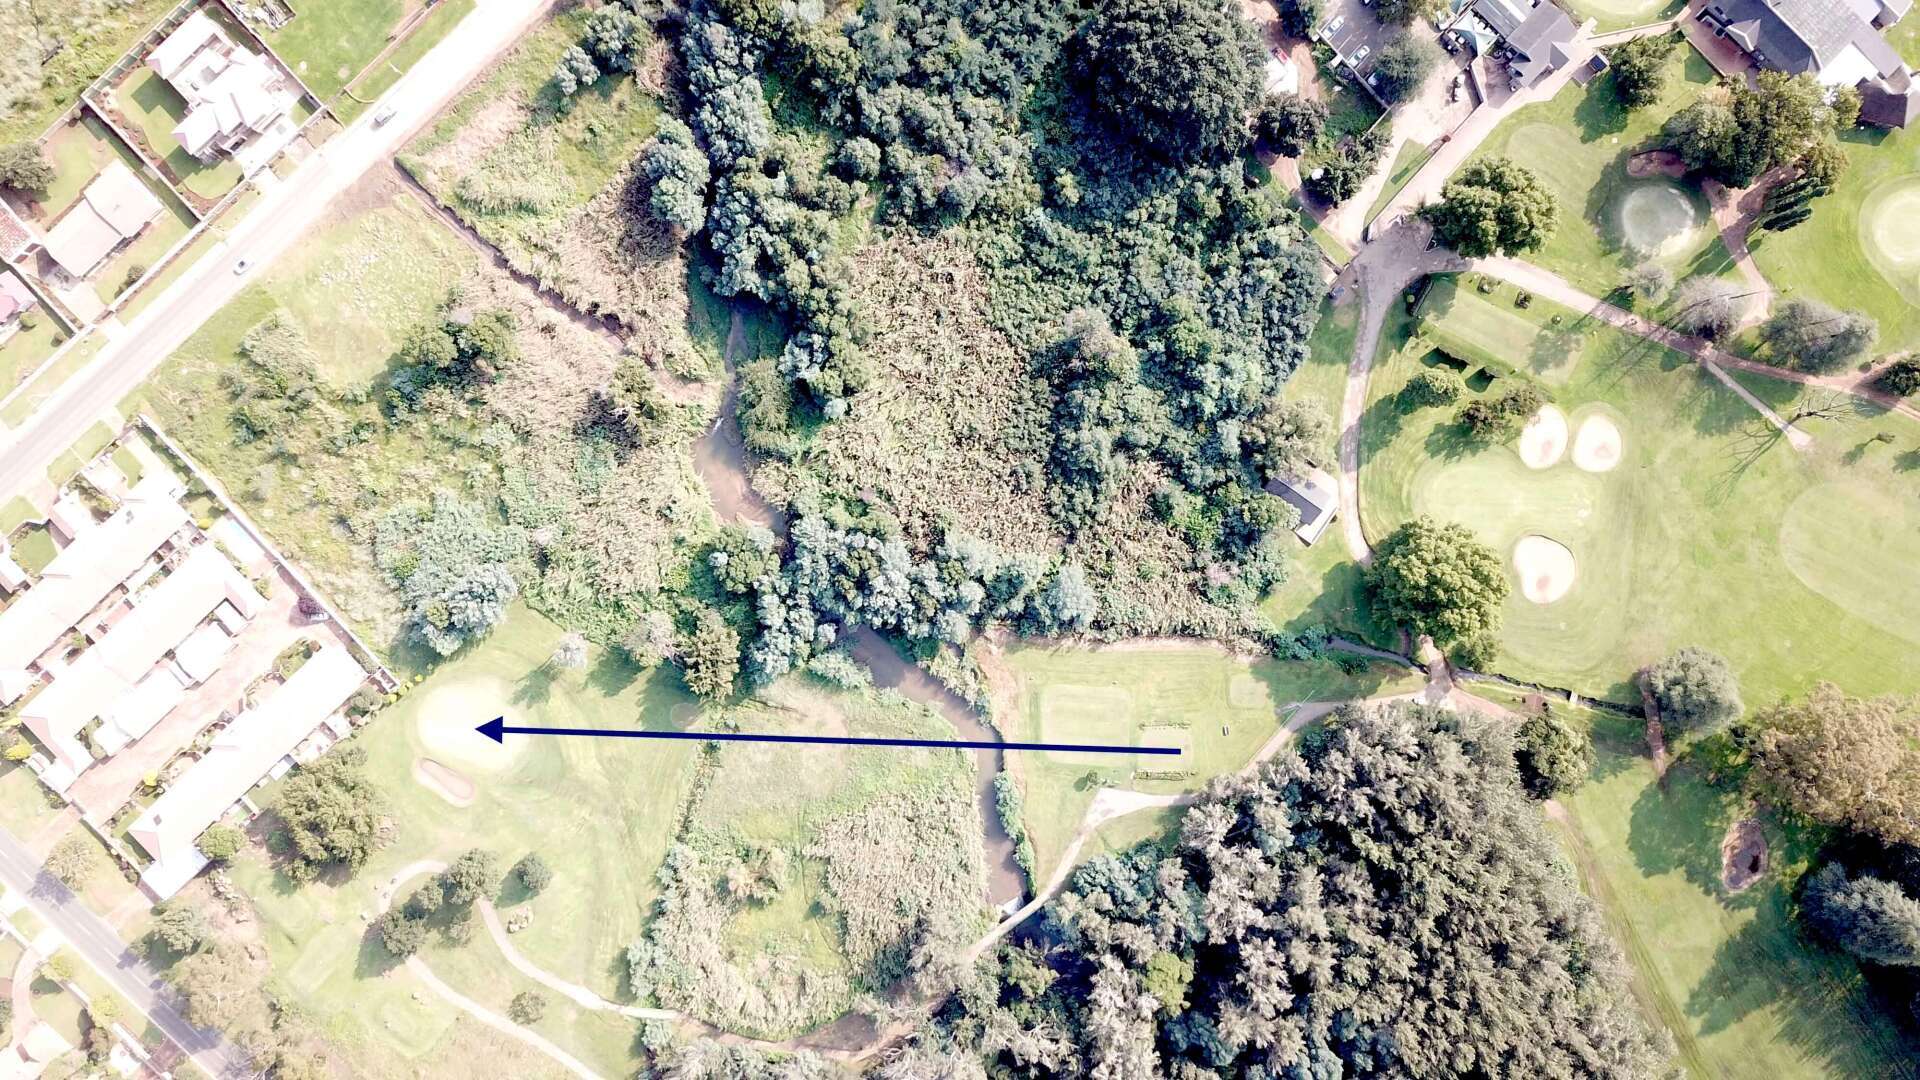
Hole 7:
The start of a challenging stretch to close out the front nine, this dogleg-right par four demands accuracy from the tee. The opening shot must carry a river, with trees lining the right side and out of bounds guarding the far left. Positioning is key to set up your second shot — you’ll need to cross the river again on approach to a green protected by two bunkers and sloping from back to front. A smart play is a long iron or hybrid off the tee, leaving a short to mid-iron into the green.
Hole 8:
The toughest hole on the course — and the longest par four at 415 meters — demands both distance and accuracy. A hazard runs the entire length of the left-hand side, while trees line the right, making the tee shot one of the most challenging on the course. A controlled fade is the ideal shot shape on this dogleg left. The approach requires precision as a pond guards the front right of the green.
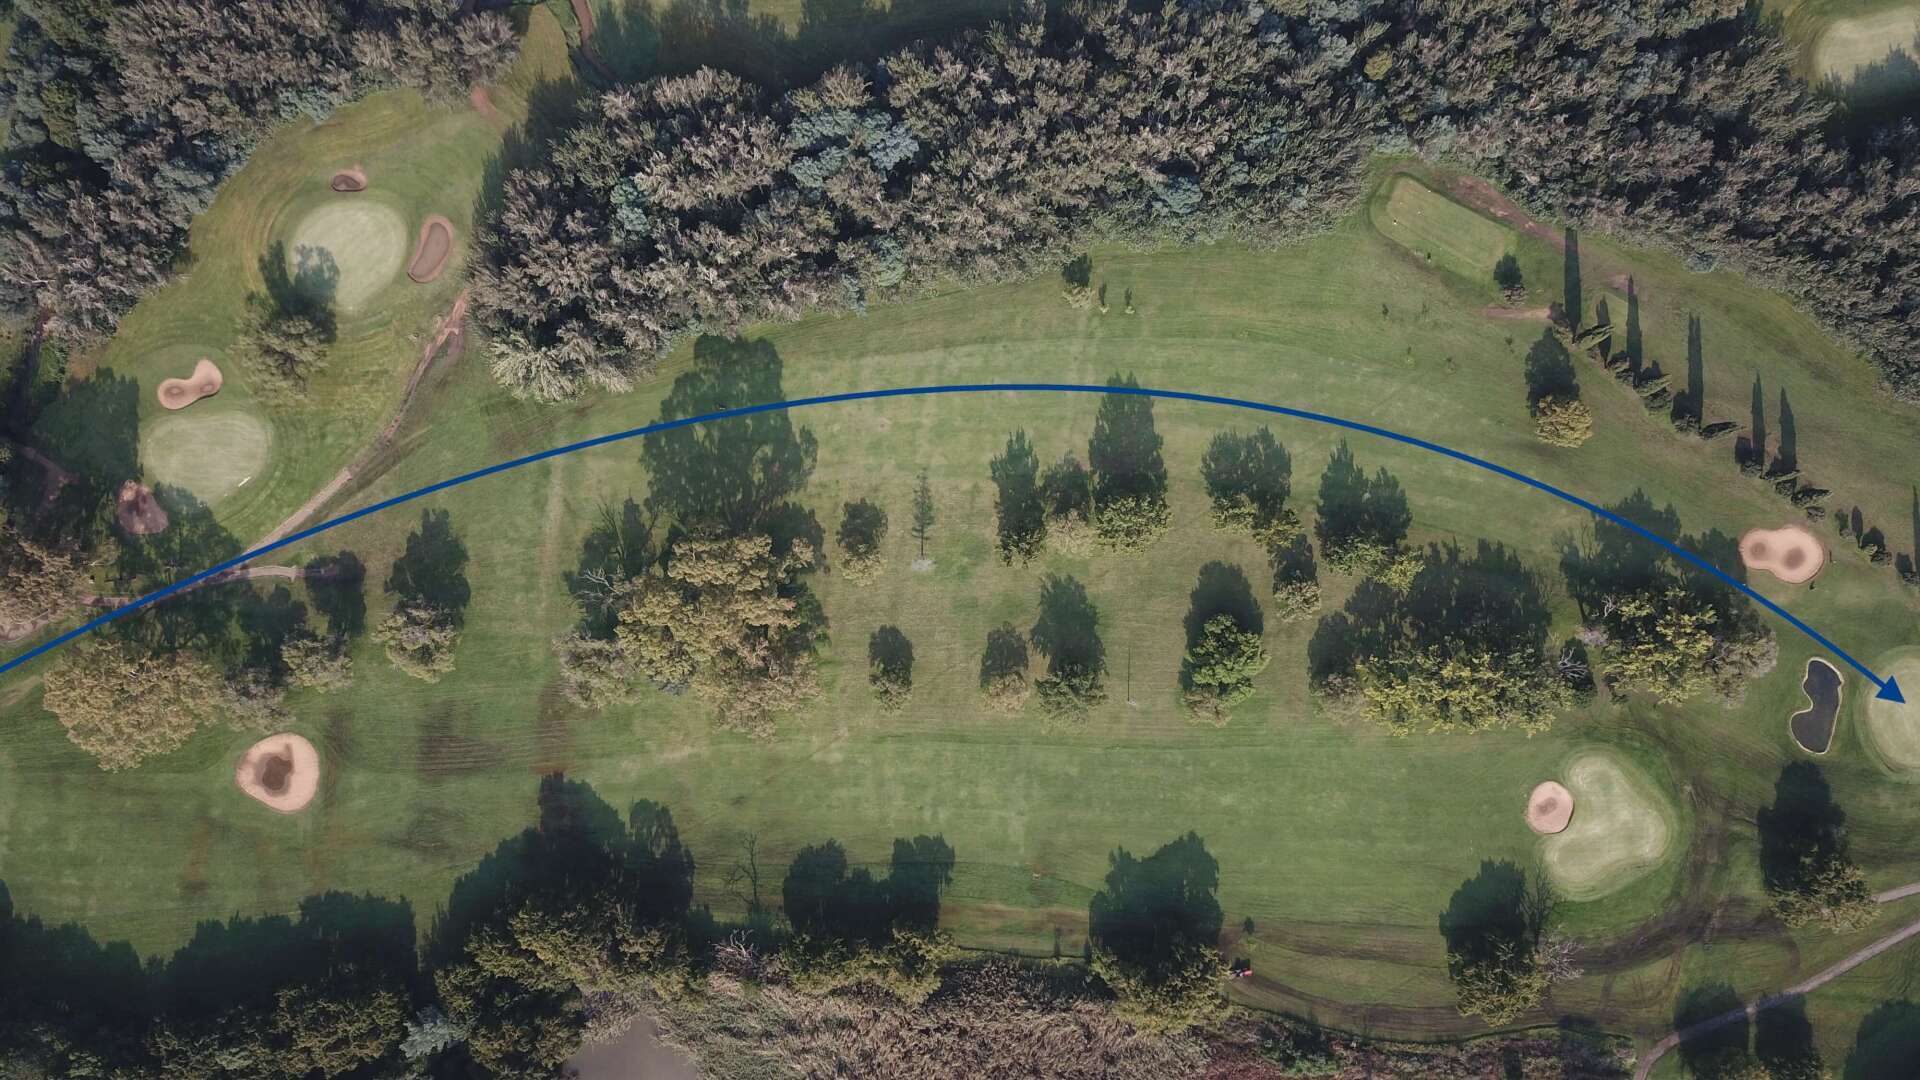
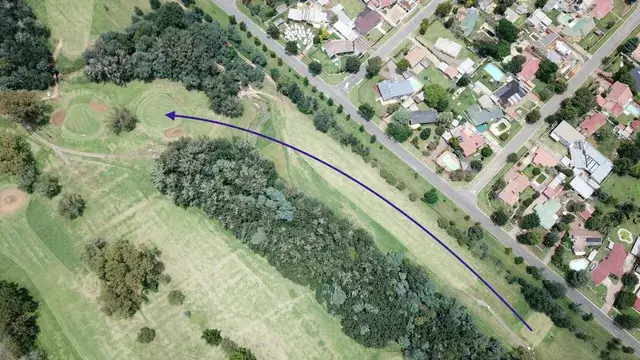
Hole 9:
A 335-meter dogleg-left par four that rewards a well-shaped draw off the tee. Trees line both sides of the fairway, and a pond positioned about 240 meters from the tee protects the right-hand side. The green, very narrow from top to bottom, is well defended, with one bunker guarding the front and two more positioned behind the right side, making club selection on the approach crucial.
Back 9 Holes
Hole 10:
The first of three par threes on the back nine, and the shortest on the course, playing just 127 meters from the club tees. The green slopes from back to front, demanding precise distance control. Accuracy is key, with a water hazard between the tee and green, a bunker guarding the left side, and out of bounds lurking on the right.
Hole 11:
A short par four that plays much tougher than its distance suggests. Accuracy off the tee is critical, with out of bounds on the right and trees lining the left. The green features a pronounced slope in the middle and is guarded by two pot bunkers at the front. A carefully chosen club off the tee is key to setting up a manageable approach.
Hole 12:
The shortest par four on the course, playing 280 meters with a dogleg left. A 165-meter tee shot is required to carry the stream crossing the fairway. Hazards line both sides, with a water hazard on the left and out of bounds on the right. Long hitters may attempt to reach the green in one, but it’s a true risk-and-reward shot, with a bunker on the left as well as the right and a tree hazard guarding the right side of the green.
Hole 13:
A dogleg-left par five filled with strategic challenges. Off the tee, avoid the two fairway bunkers on the right. The approach must carry a water hazard located roughly 100 meters short of the green, which itself is well protected by a bunker roughly 17 metres from the green and another tucked into the front right. Careful course management is essential to score well here.
Hole 14:
Playing 170 meters with a stroke rating of 6, this is the toughest par three on the course. The green is one of the smallest on the layout and is protected by three bunkers, making par a solid score and a three feel almost like a birdie.
Hole 15:
One of Southdowns’ most strategically designed par fours, this hole demands precision from the player. Off the tee, avoid the fairway bunker and water hazard on the left. The green is well protected, with two bunkers guarding the right side and a water hazard safeguarding the left, making accuracy on your approach crucial.
Hole 16:
A relatively straightforward par five and the shortest on the course, offering a good scoring opportunity. A solid tee shot sets up the approach, and the green is very attackable, protected by just a single bunker. Accuracy and smart club selection can lead to a great score here.
Hole 17:
The final par three on the course, playing 164 meters with a slight dogleg left. The small green is well protected by two bunkers, making accuracy essential. A well-struck draw from the tee is the ideal shot shape to set up a solid score.
Hole 18:
The finishing hole at South Downs is a demanding par four. The tee shot requires accuracy, with out of bounds on the right and a long line of trees on the left, plus a bunker positioned 240 meters down the right side. Proper positioning in the fairway is key to attacking the signature green, which slopes from right to left and features challenging pin placements.
Playing on our Golf Course will be an experience you wouldn't want to miss out on. Our 18 holes, each one testing another golfing skill of yours. From a fairway attack to miss our bunkers while playing a green with a slope to ensure that you meet your par 3.
YES! This is the golf course to test your skills and enhance your golfing technique. We at South Downs pride our selfs that our golfers have a joyful experience and will surely come back.
South Downs Golf Course Endless Possibilities.
Become an Membership at South Down CC golf course
View our Current Specials at South Downs CC golf course